How to Paint a Wooden Floor without Sanding


Do you dream of a fresh look for your wooden floors, but you also dread the sanding dust? No worries. Sanding removes the top layer of wood fibers, which can be weak or damaged. This exposes a slightly stronger layer below, creating a more robust foundation for the paint. However, there are ways of skipping this step and still achieve that perfect finish you are looking for.
This oneHOWTO guide explains how to paint your floors without sanding. Learn the simple steps to prep, choose the right paint, and achieve a beautiful, long-lasting finish.
Steps to follow:
Wash the floor
Prepare a cleaning solution using equal parts vinegar and water, or use a specialized wooden floor cleaner.
Mop the floor thoroughly with this solution to remove grease and grime. This step ensures a clean surface, which is crucial for good paint adhesion.
After cleaning, rub down the floor with a damp cloth to pick up any remaining dust or cleaning residue. Finally, allow the floor to dry completely before proceeding to the next step.
Protect the baseboards
Properly position masking tape along the base perimeter to avoid paint splashes on the walls and baseboards. This will prevent paint stains that are difficult to remove.
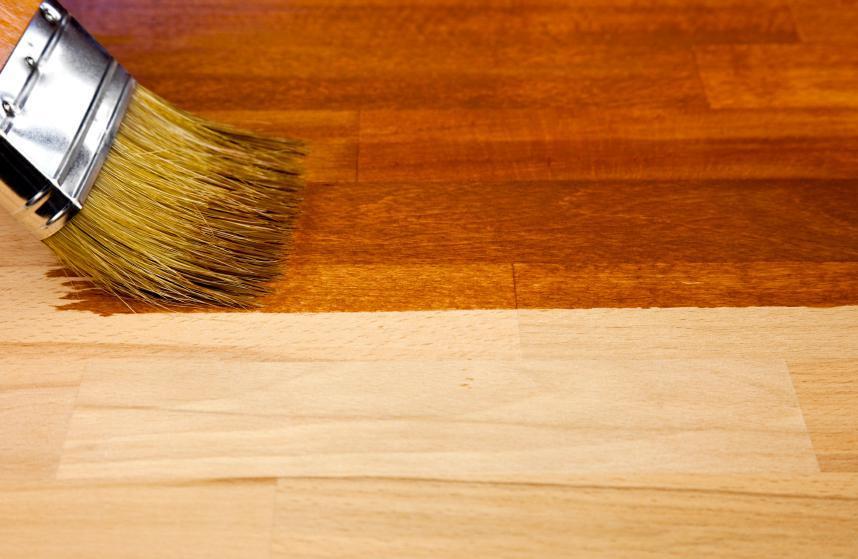
Apply a primer
In the context of painting a wooden floor, a primer is a preparatory coating that enhances paint adhesion, seals the porous surface of the wood, blocks stains and tannins, provides a uniform base color, and improves the durability and wear resistance of the final paint job. In other words, it ensures a smoother, longer-lasting, and more even finish, making it a crucial step, especially for previously unpainted or significantly color-changed surfaces.
Use a high-quality primer designed for wooden floors. This will help the paint adhere better and last longer. Apply the primer evenly across the floor and let it dry according to the manufacturer’s instructions.
Choose the right paint
Selecting the appropriate paint for your wooden floor is crucial for achieving a long-lasting finish. There are paints specifically formulated for floors, which provide enhanced durability and are designed to withstand foot traffic and cleaning.
Make sure to choose a color and finish that suits your decor and preferences. Matte finishes tend to hide imperfections better, while gloss finishes offer a more polished look but can show scratches and wear more easily.
Prepare the tools
Start by preparing your tools. Gather all necessary tools, including a high-quality paintbrush for edges and corners, a paint roller with an extension handle for larger areas, a paint tray, and painter’s tape.
Paint the edges and corners
Start by using a paintbrush to paint the edges and corners of the room. Carefully paint along the masked baseboards to ensure clean lines. Cut in around any obstacles, such as door frames and floor vents.
Roll the Paint
Pour the paint into a paint tray and load the roller with a small amount of paint. Avoid overloading the roller to prevent drips and uneven coverage.
Begin painting in one corner of the room and work your way towards the exit to avoid stepping on wet paint.
Use a “W” or “M” pattern to apply the paint, which helps distribute it evenly across the floor. Then, smooth it out with long, even strokes. Apply the paint in thin, even coats to avoid pooling and ensure a smooth finish. Thick coats can lead to uneven drying and a less durable finish. Each coat should provide a consistent, even layer without visible brush strokes or roller marks.
Drying time
Let each coat of paint dry completely before applying the next one. Follow the manufacturer’s recommended drying time, which can vary depending on the type of paint and environmental conditions. Typically, it can take anywhere from 2 to 24 hours for each coat to dry. Ensure good ventilation to speed up the drying process.
Apply additional coats
Two to three coats of paint are usually recommended for optimal coverage and durability. Additional coats may be necessary if you’re covering a dark color with a lighter one or if the floor sees heavy traffic. After applying the final coat, allow it to cure fully. This may take several days, during which you should avoid placing heavy furniture or walking on the floor with shoes.
If you want to read similar articles to How to Paint a Wooden Floor without Sanding, we recommend you visit our DIY & decorating category.

